

I've been meaning to write a little post explaining how I create my faux-risograph illustrations in Photoshop. My buddy Anika asked me about it the other day and I figured it was time to finally do it! So, here we go- a little tutorial on how to fake some delicious printing textures. I am not an expert and I don't have all the answers! But this is a method that works for me, so here it is.
You'll need to start with a color-separated image, with a grayscale layer for each color you want to print. There are a lot of ways to do this, from processing an existing image to literally drawing on different physical layers of paper. It's too meaty to explain in this post, but you can (as always) find good resources online.
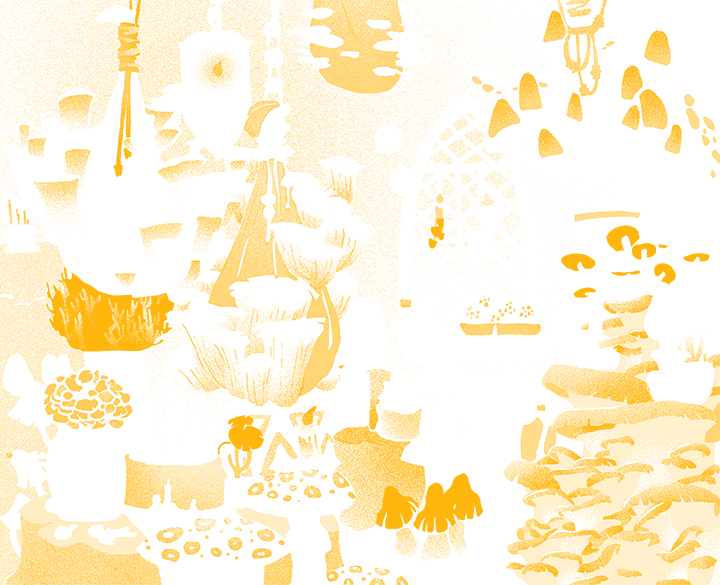
For my mushroom illustration, here are my three layers:


Step 1
So, a Riso printer doesn't do grayscale. It will automatically convert grey areas to halftones when you print it. So to fake that, I'm going to use Photoshop to make a halftone myself. I start by opening one of my layers. It happens to be in RGB mode, I need to get it to Bitmap in order to make my halftone, but it won't do that unless I make the color space Grayscale first.
To do this, I hit Image > Mode > Grayscale. It might prompt me to discard color information, that's fine. Then I hit Image > Mode > Bitmap.
Step 2

I'm now greeted by these options: I haven't messed with this too much, but I do have some options to change how it does the conversion. I just match my resolution and pick halftone. (Sometimes I do a lower dpi for web images to better show off the texture.)

This next one is where the meat of this is:
So let's step back a bit: an important thing to note with halftones is screen angle. Essentially, in order to get the best color-mixing results and avoid a possible moiré pattern, you need to set your halftone dots to specific angles. Photoshop is giving you an option to do that. I use this handy-dandy chart from wikipedia- even when I'm not doing CMYK, I can adapt it to what I'm looking at. I've played around with using each of these 4 ratios, but not in depth enough to give you much of an opinion. (Not an expert!) I'm going to use the top right this time.
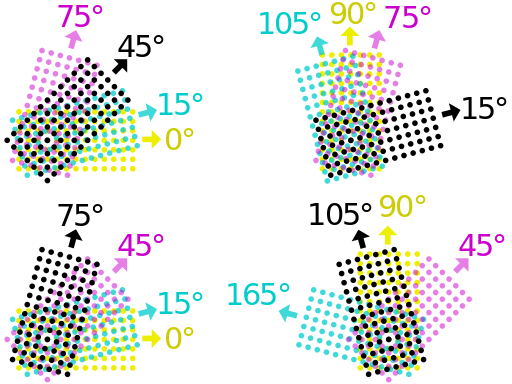
I'm looking at my blue layer here, and that's my darkest color. So, I'm going to use the screen angle for black: 15°. I'm changing my frequency down to 150 here to show the texture off better for web. You also have options for what shape the "dots" will be - experiment! See what you like! I'll leave it on "round" this time.

Here's the result at 100%:
Step 3
Now for my red layer! I'm going to do the same things: Image > Mode > GrayscaleImage > Mode > Bitmap

This time, I'm setting my screen angle to 75°, because red is my midtone.
Step 4
And one more time, for the yellow layer. Image > Mode > Grayscale Image > Mode > Bitmap

Screen angle: 90°
Now I have 3 truly black and white weird pixelly layers! Time for the magic.
Step 5

I create a new RGB document and paste in each of these 3 layers so they're stacked on top of each other. They all have white backgrounds that we need to take out so we have isolated black layers to re-color. I grab the magic wand and set tolerance to 0, uncheck anti-alias, uncheck contiguous, and uncheck sample all layers. I select the white area and delete it, then repeat this for the remaining layers.
It ends up with a weird, dark grayscale version of the image, but that's ok!
Step 6
Now we add the color back in! I lock transparent pixels (press / or the button on the layers panel) and use the paint bucket to recolor my layers, one by one.


Step 7
Set the layers to multiply to mimic the translucent ink, and voila! Your image!
Step 8a (Optional)

This isn't quite enough texture for me, so I do two more things to rough things up a little. Firstly, part of the charm of riso, to me, is the imperfect registration. So I'm just going to nudge & rotate my layers around a little bit.
Step 8b (Optional)
And lastly, my secret weapon. I'm going to add a texture mask to each layer, to simulate some imperfections. (I'm not going too in depth here, if you're unfamiliar with layer masks here's a good place to start.)

I made a gritty screenprinted paper texture that I've been using for this purpose for years. You can find a good texture various places online (be ethical!) or make & scan something yourself. I open up my texture in its own file:
Select all > Copy to get it onto my clipboard.

Then I go back to my document and pick a layer. I'll start with blue. I hit the "add layer mask" button down at the bottom to create the mask. Then I need to click the visibility checkbox next to this new mask on my channels pallet, before I can paste into it. (I don't know why this is! But it is!) From here, I fiddle with the contrast, scale, and placement of my texture until it looks pretty good.
Repeat with the other 2 layers (try NOT to line up your textures - place them a bit differently each time) and you're done!
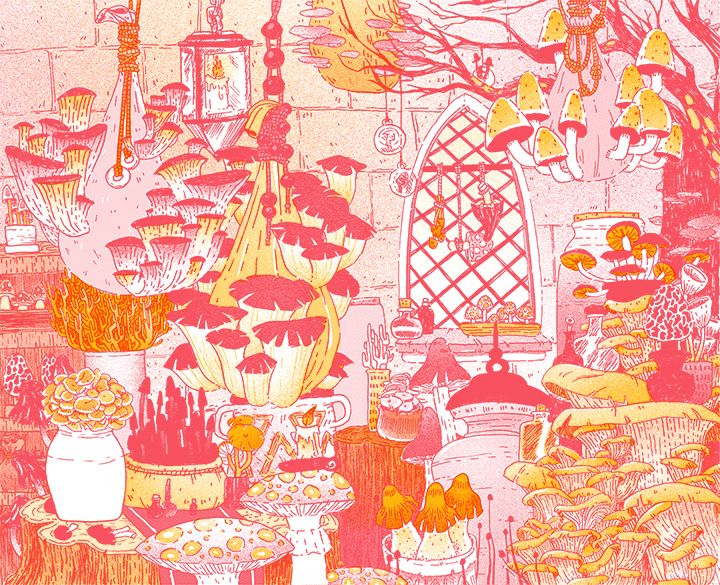
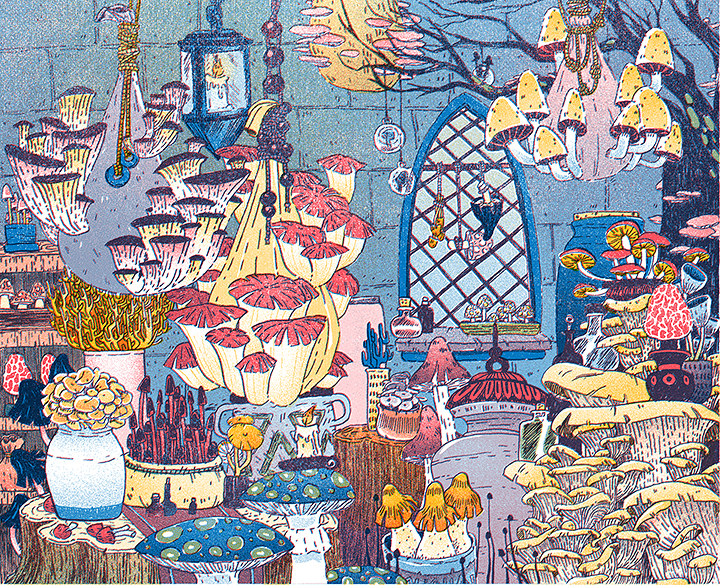
Here's a comparison at 100%, from the original version to my faked riso version:

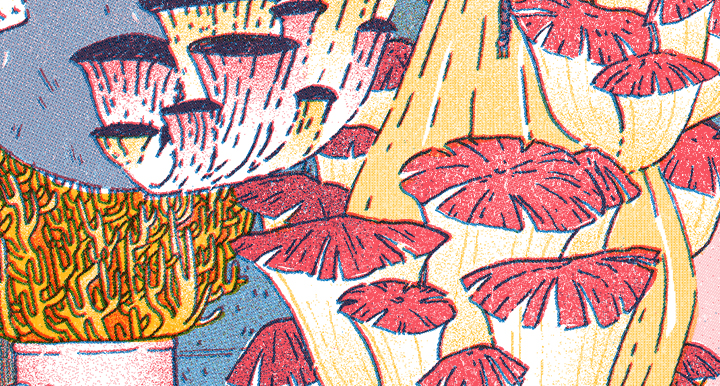
And my final image:
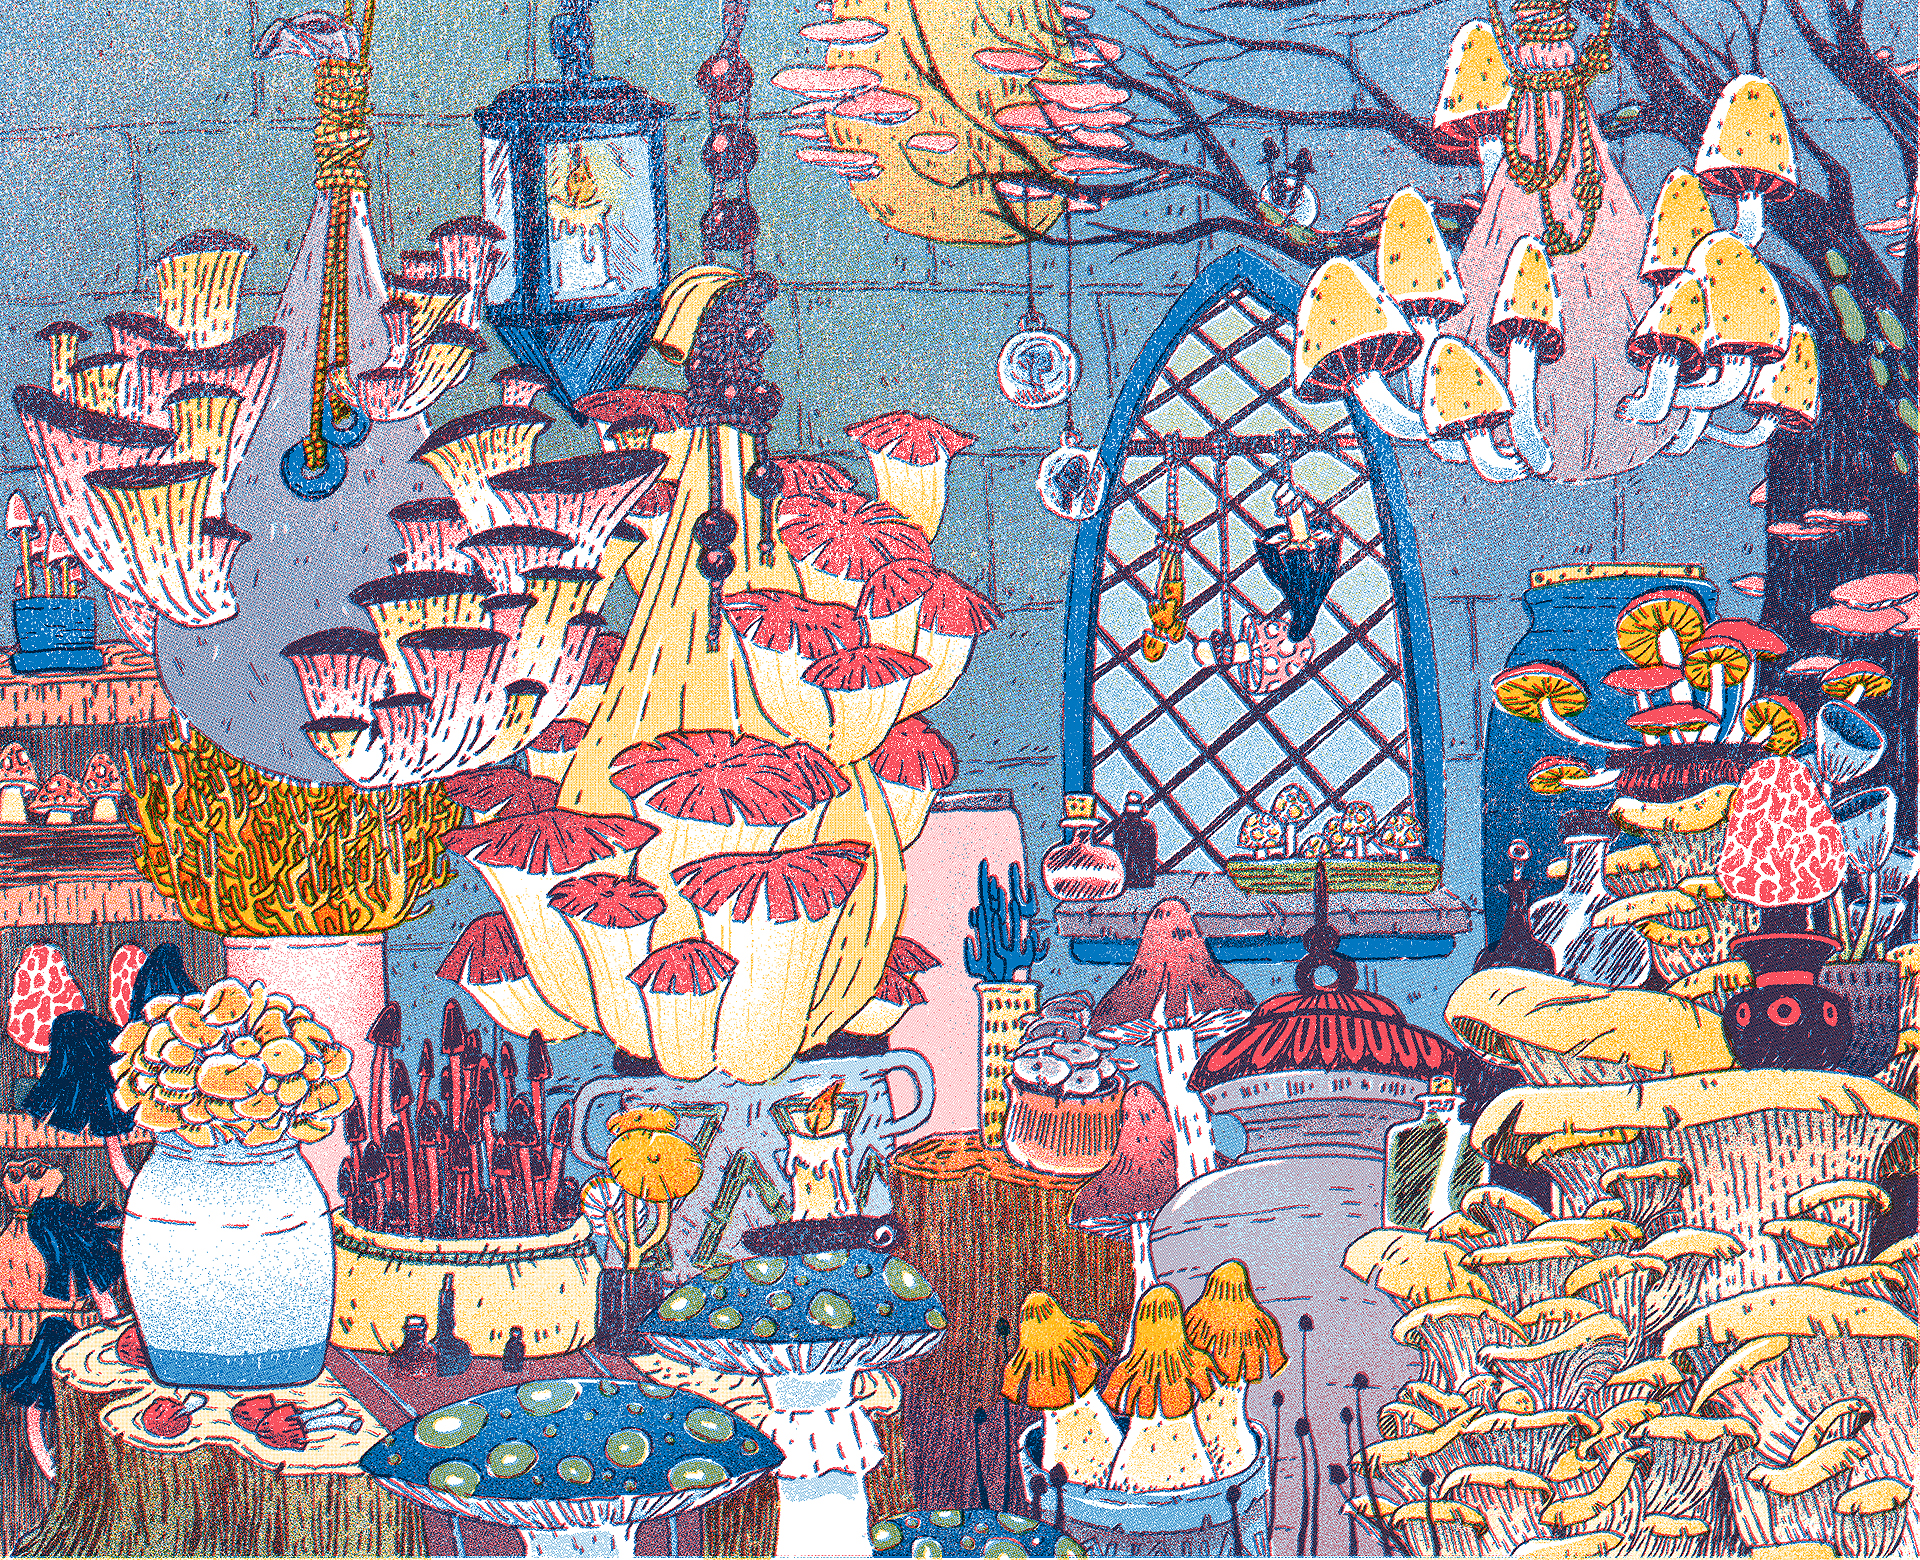
It's not a huge difference, but I like how it brings warmth and life and imperfection to the image. It can really transform a piece!